Travis CI Notes
Intro to Travis CI
Travis is a continuous integration pipeline software.
It is Open source and free for public repos
Travis is intended to work on a Linux system.
A continues integration pipeline can help you mimic where you are going to deploy your app and test it. In other words test it in an environment very similar or identically to where it will be deployed for production
It can monitor your repo (which can live somewhere else like GitHub for example) so every time you make a commit on a branch, Travis can go to your repository downloads it and do something, normally run some test
Travis config file (The .travis.yml)
Setup Travis CI
This Setup guide is a reference on how to setup Travis CI using a repo that lives in GitHub
- Sign up with GitHub & authorize access to your GitHub Account
- Hit the
+ (Add New Repository)
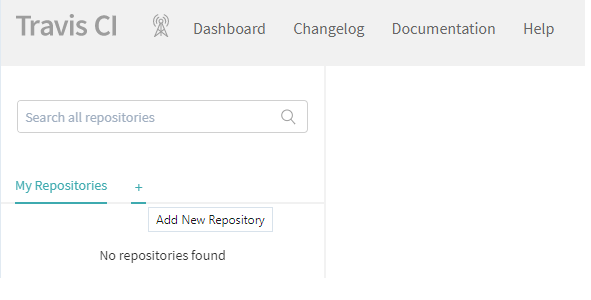
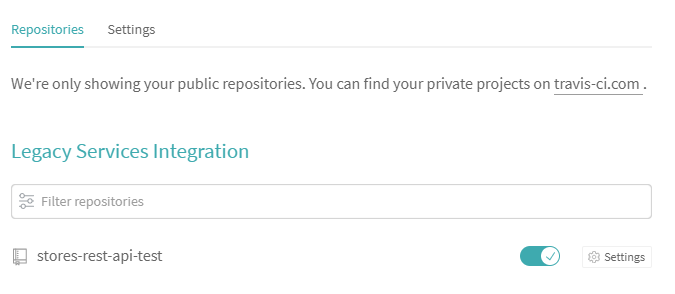
- Enable your repo
- Add a Travis Config YAML file to your repo (Must be called
.travis.yml)
language: python
python:
  - "3.8"
  - "nightly"
install:
  - "pip install pytest"
  - "pip install -r requirements.txt"
script: python -m pytest tests/
- Push your
.travis.yml file and that should run your config specified in Travis
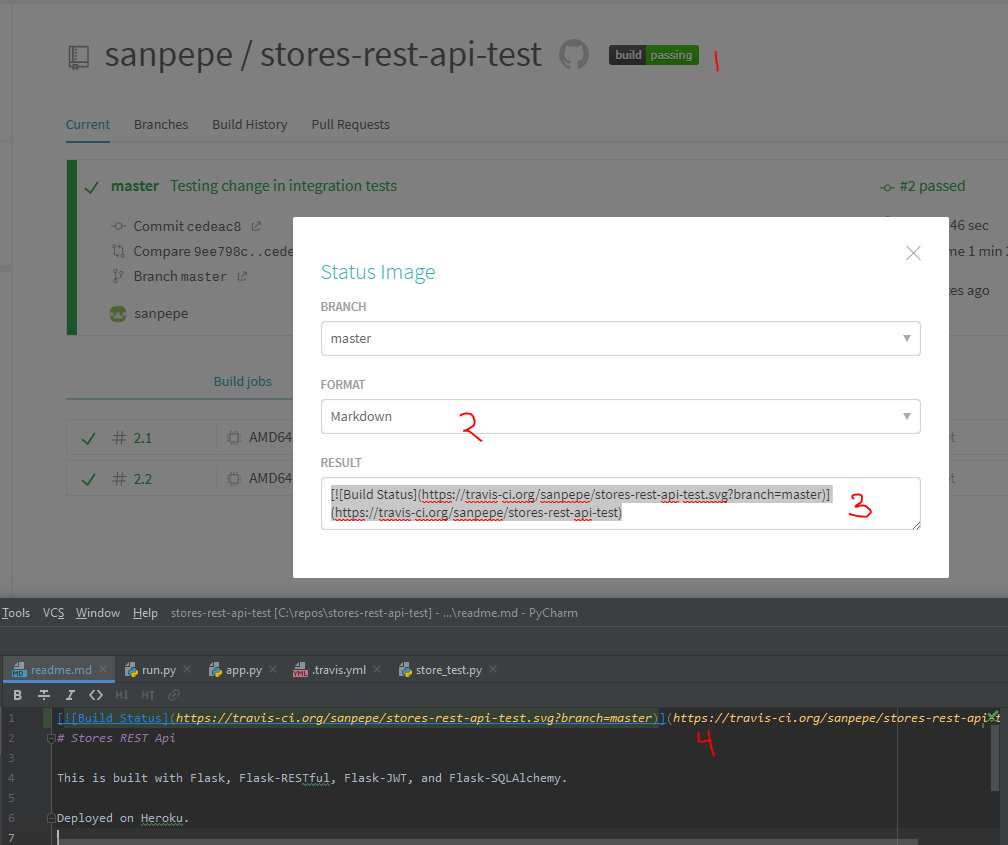
- (optional) Add your build status badge to your readme:1) Click on the Travis badge 2) select Markdown 3) Copy the text 4) Paste it in your Readme.md file
By default Travis is triggered every time you push to your repo and you will be notified via email about the build status
References